Customer Management
Learn how to create and manage customer profiles in PackWares CMS with contact details, business terms, and credit limits.
Open in AppLearn how to create and manage customer profiles in PackWares CMS. Customer profiles store essential information including contact details, business terms, credit limits, and banking information.
Creating a New Customer
Follow these steps to add a new customer to your PackWares CMS system.
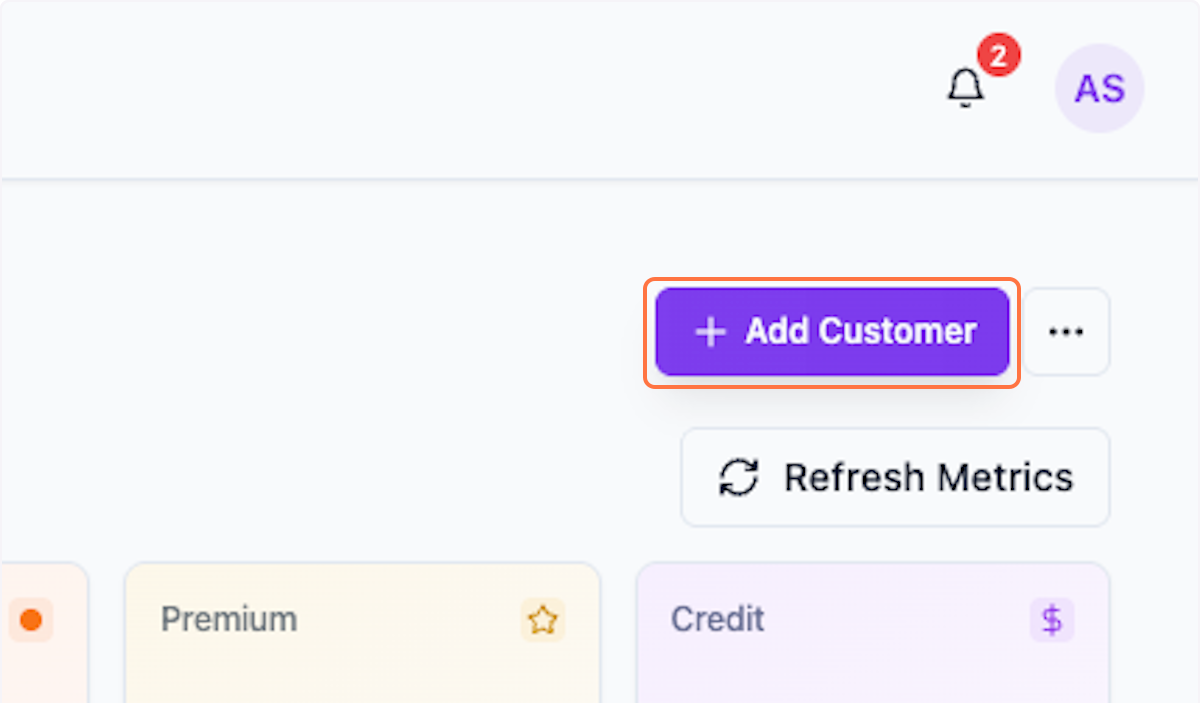
Step 1: Open Add Customer Form
Click the Add Customer button to open the customer creation form.
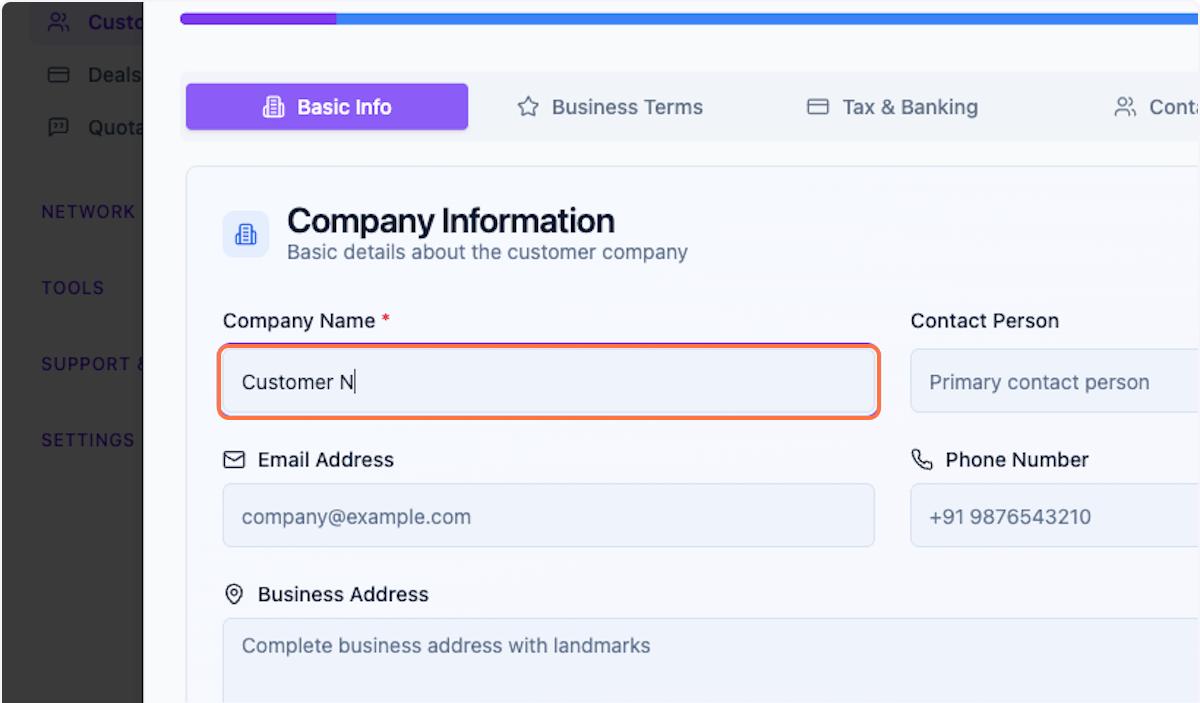
Step 2: Enter Customer Name
Enter the customer's company or business name. This is a required field.
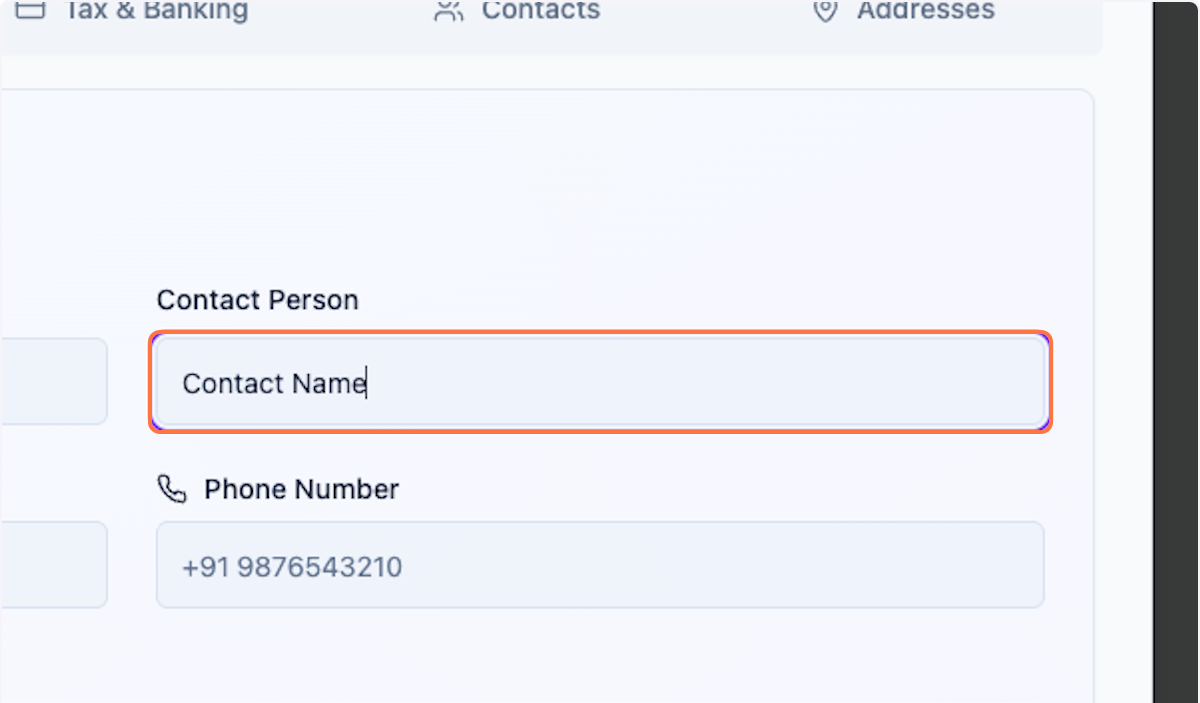
Step 3: Add Contact Name (Optional)
Enter the primary contact person's name. This field is optional but recommended for better communication.
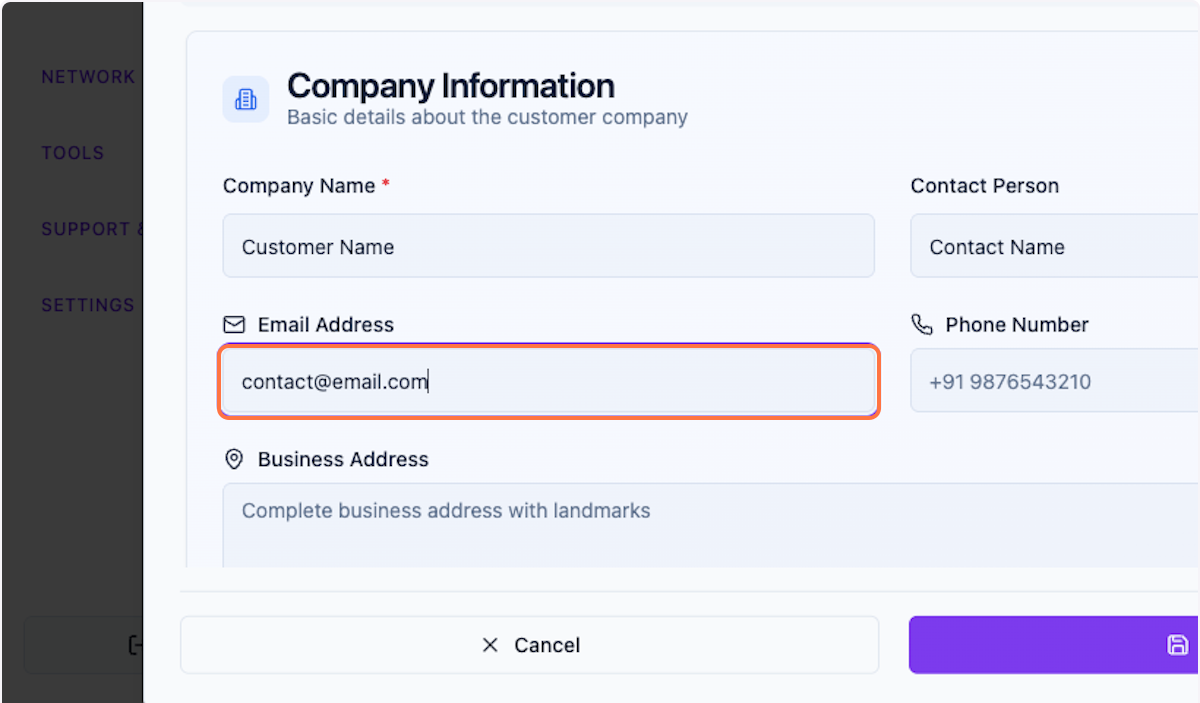
Step 4: Enter Email Address (Optional)
Provide the customer's email address for correspondence and notifications.
Example: user@example.com
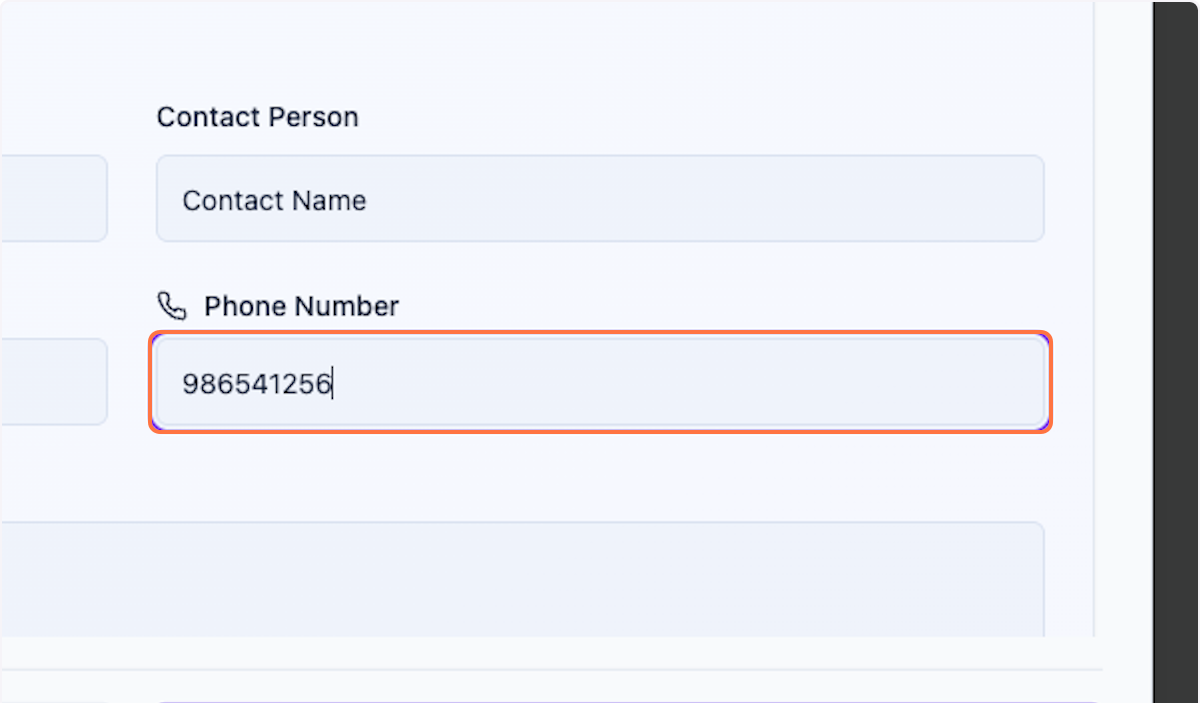
Step 5: Add Phone Number (Optional)
Enter the customer's phone number for direct communication.
Example: 986541256
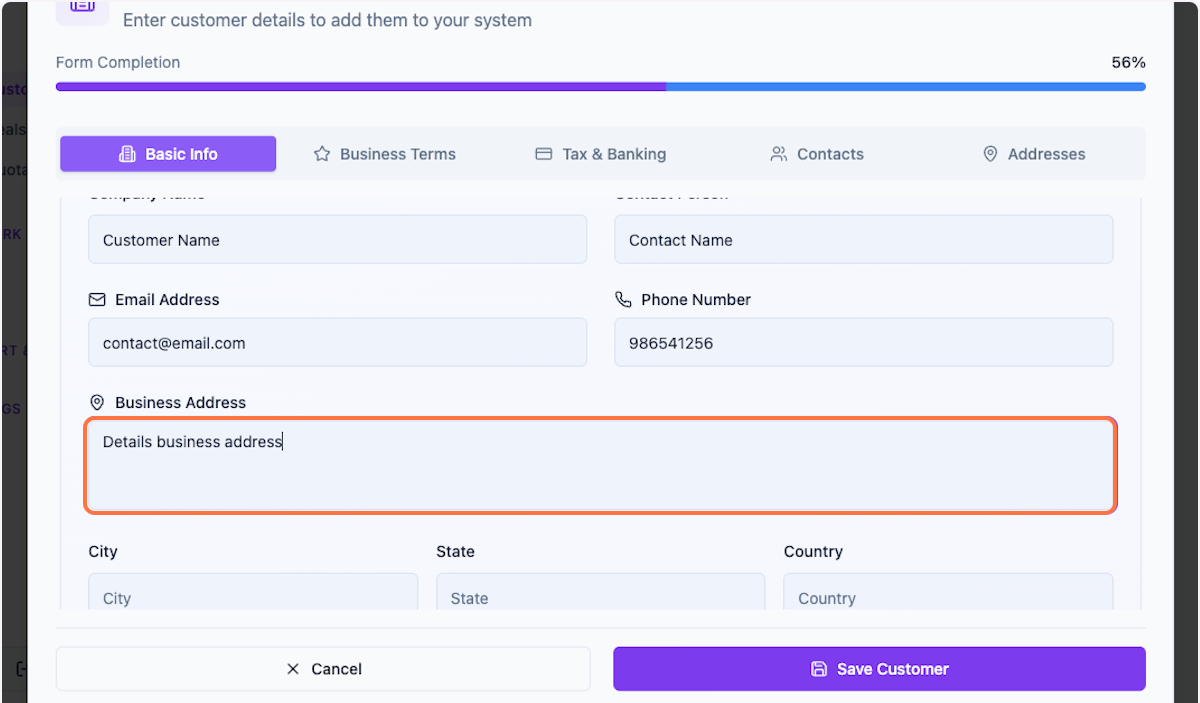
Step 6: Enter Business Address
Provide the customer's complete business address. This is important for shipping and billing purposes.
Configuring Business Terms
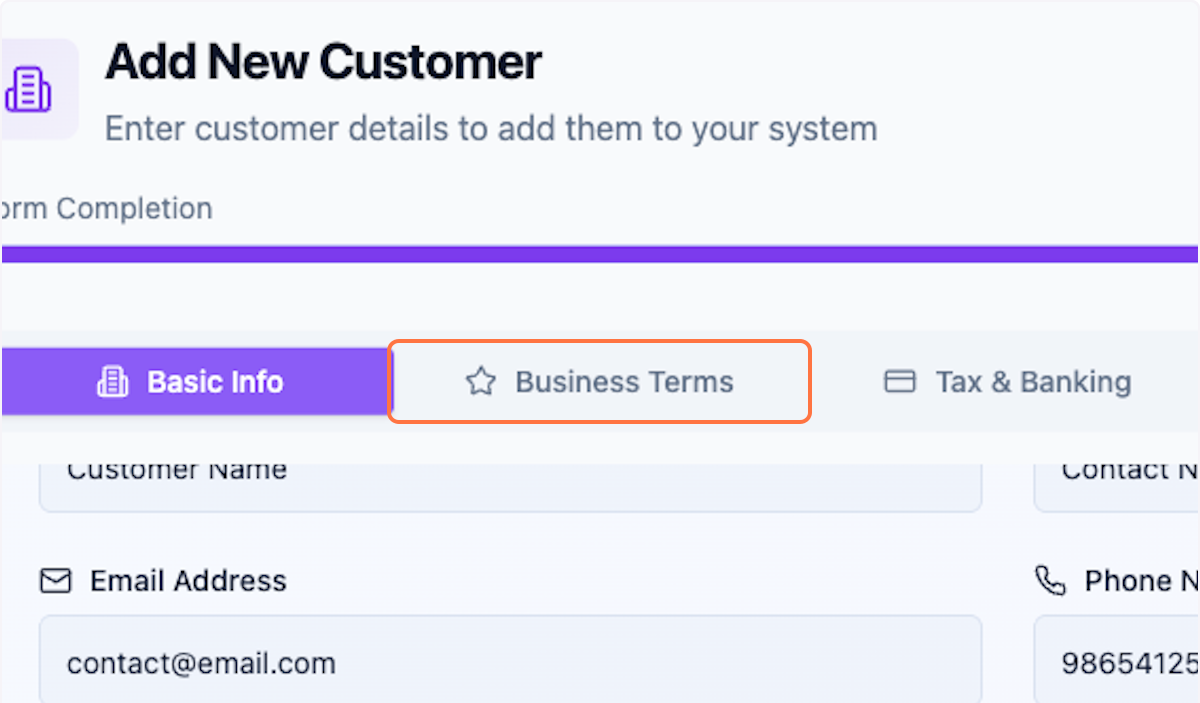
Step 7: Open Business Terms Section
Click on the Business Terms tab to configure payment and credit terms. You can complete this section now or return to it later.
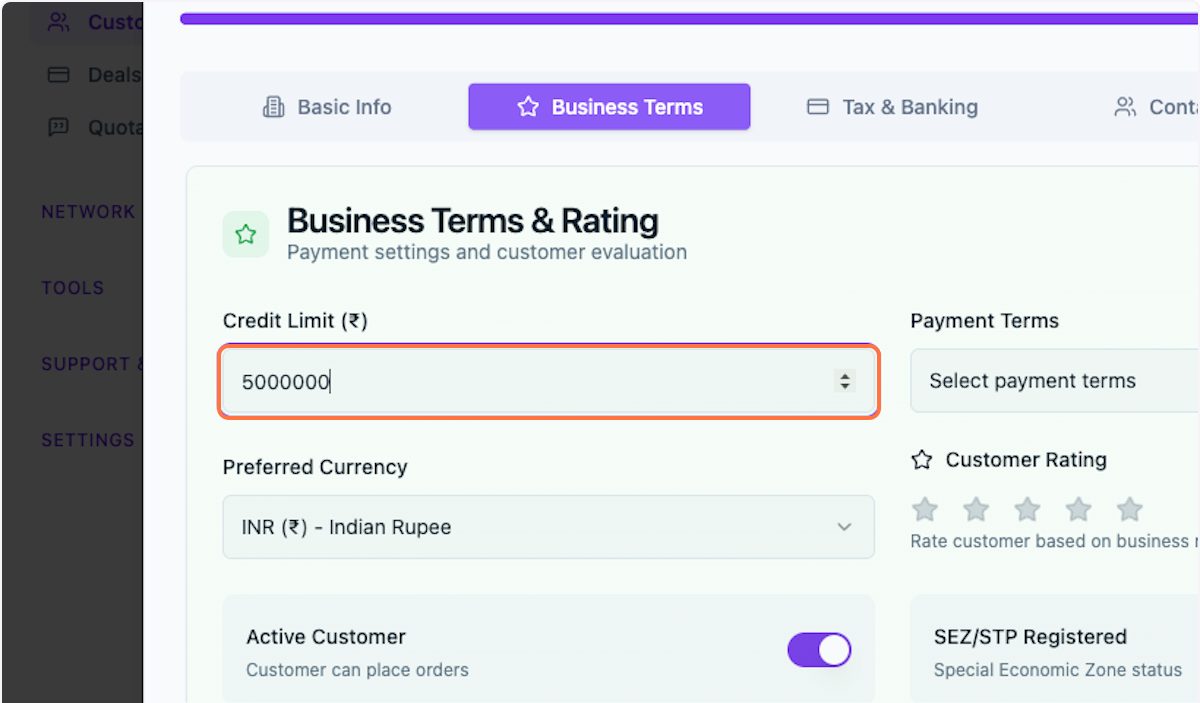
Step 8: Set Credit Exposure Limit
Enter the maximum credit exposure limit for this customer. This represents the total outstanding amount the customer can have at any given time.
Tip: Setting appropriate credit limits helps manage financial risk and ensures healthy cash flow.
Step 9: Complete Additional Business Terms
Fill in any additional business terms and conditions. These can be customized based on your agreement with the customer.
Note: This section can be updated at any time based on your business requirements and convenience.

Tax & Banking Information
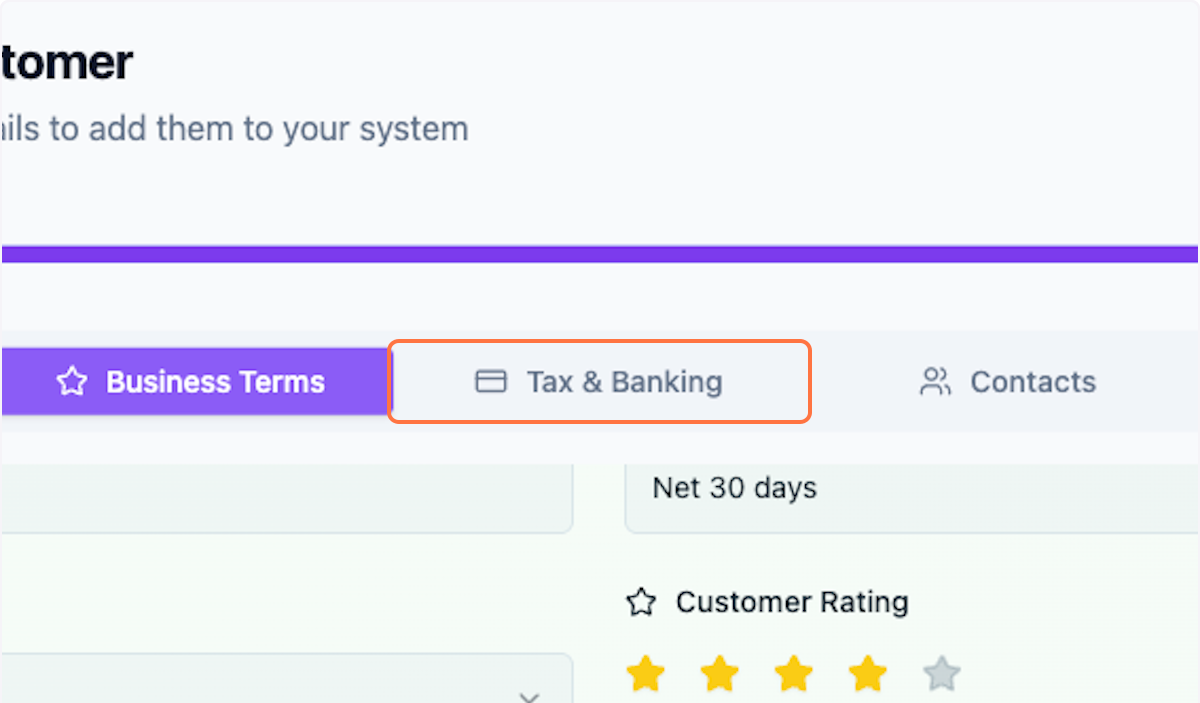
Step 10: Add Tax & Banking Details
Click on the Tax & Banking tab to add tax identification and banking information for this customer.
Saving Your Customer
Step 11: Save Customer Profile
Once you've entered all required information, click Save Customer to create the customer profile.

What's Next?
After creating a customer profile, you can:
- Create deals and quotations for this customer
- View customer transaction history
- Update customer information anytime
- Manage customer-specific pricing and terms
Was this helpful?
Let us know if you need more help.